
Model Context Protocol (MCP) is a standard way to give an AI assistant access to applications. In the context of Revit, I can have an LLM talk to Revit directly rather than building a Revit addin or macro.
In this post, I’ll show you how to create a pipeline with three pieces: Claude → MCP server → pyRevit Routes → Revit.
- The MCP server is a small Python program that speaks the protocol Claude understands.
- pyRevit Routes is a mini web server running inside Revit that can execute Revit API code.
- Neither piece needs to know much about the other, they just agree on a set of URLs.
How to Connect Claude Code to Revit using PyRevit
1. Install pyRevit
Download the installer and follow the instructions at: https://docs.pyrevitlabs.io/
2. Install mcp-server-for-revit-python
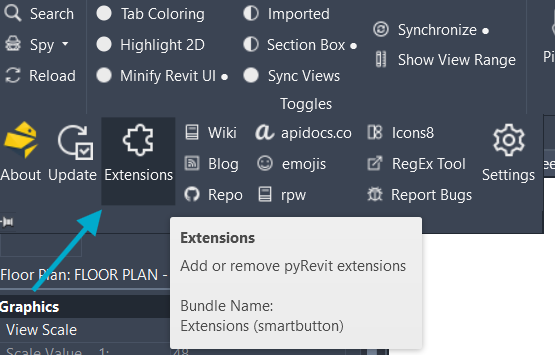
Once installed, go to the pyRevit tab, then find the the tiny dropdown menu at the far left of the ribbon and click on Extensions.
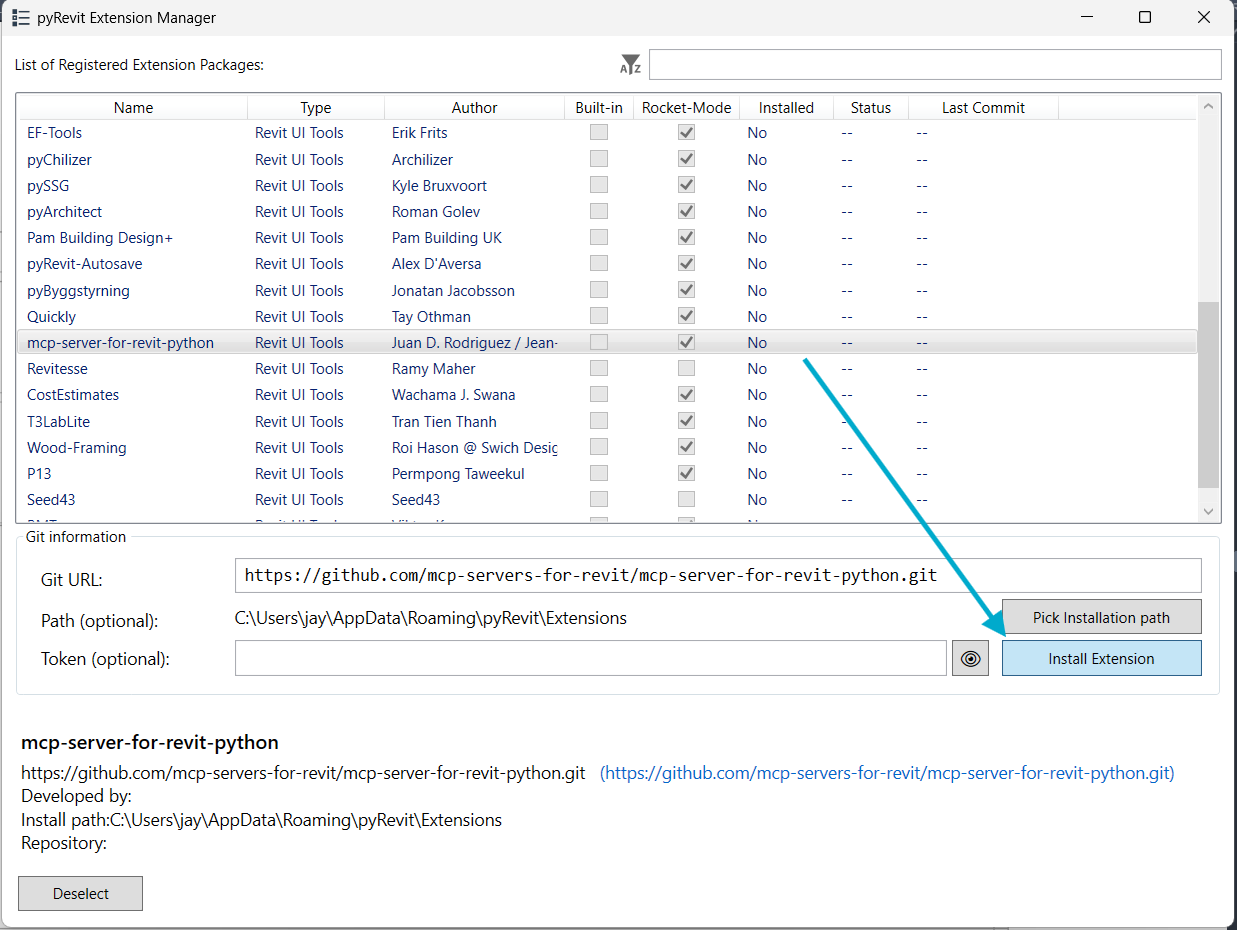
Install mcp-server-for-revit-python by selecting it in the list and then clicking the Install Extension button. Make a note of the Path within your AppData\Roaming\pyRevit folder as you will need it later.
3. Enable Routes Server
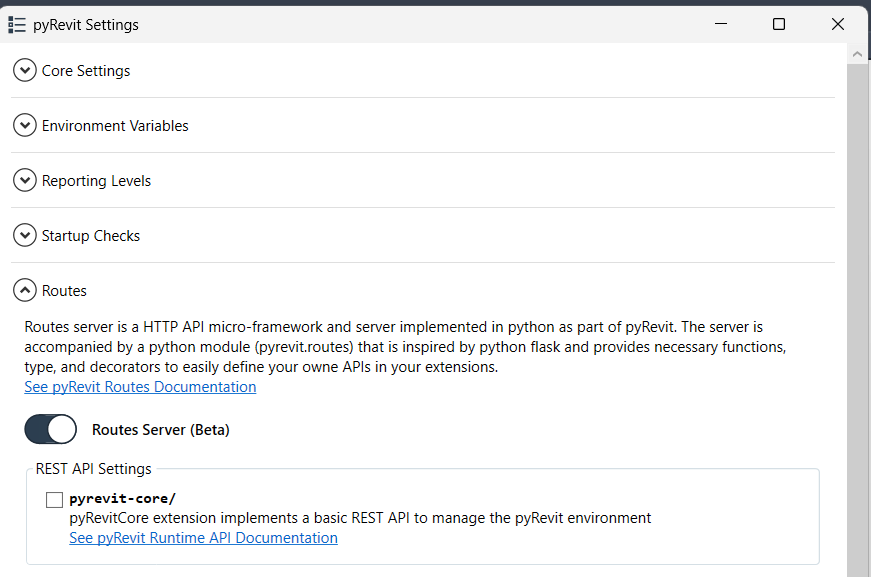
Go to pyRevit Setttings (under the same dropdown menu as the Extensions from step 2. Expand the Routes section and toggle on “Routes Server”.
4. Set a Specific IP and Port
Serve your MCP from a specific IP and port for easier reference for Claude. Go to pyRevit_config.ini in C:\Users\USERNAME\AppData\Roaming\pyRevit. Look for the [Routes] section and paste the follow lines before the last line in that section:
server_host = "127.0.0.1"
server_port = 48884
So the final [routes] section should look like:
[routes]
enabled = true
core_api = false
server_host = "127.0.0.1"
server_port = 48884
5. Install Claude Desktop
Download the installer and follow the instructions at: https://claude.com/download.
6. Kick Off a Code Session
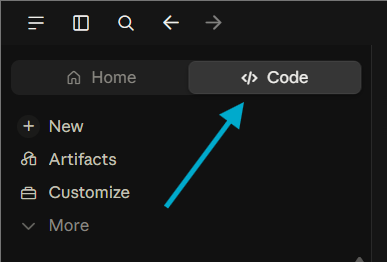
In Claude Desktop, navigate to the “</> Code” tab in the left sidebar.
Click on the Add Folder icon and navigate to installation directory of the mcp-server extension from step 3. In this step, we are going to ask Claude to configure itself to use the MCP server.
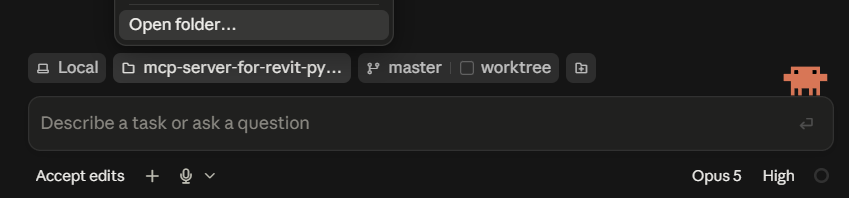
Once the folder is provided as context, prompt Claude to set up the environment and be clear that you want to interact with Revit using the MCP server.
Set up my environment so we can interact with Revit using this MCP server extension.
Claude will begin working and install any additional dependencies it needs to work. Note that you will need to approve several requests to run commands to install these dependencies.
7. Configure Claude to Connect to The Revit MCP Server
Enable Claude to connect to your MCP server by editing: %APPDATA%\Claude\claude_desktop_config.json.
Optionally, you can also navigate to the file by clicking Settings → Developer → Edit Config, which creates the file if it’s missing. Hand-creating it in the wrong directory is a common false start.
Paste in the following JSON blob, but replace the installation paths with yours (most likely just change the jay to your username).
"mcpServers": {
  "Revit Connector": {
    "command": "C:/Users/jay/AppData/Roaming/pyRevit/Extensions/mcp-server-for-revit-python.extension/.venv/Scripts/mcp.exe",
    "args": [
      "run",
      "C:/Users/jay/AppData/Roaming/pyRevit/Extensions/mcp-server-for-revit-python.extension/main.py"
    ]
  }
}
If you don’t already have an mcpServers object in the text file, add it right after the first curly brace and don’t forget to add a comma after the closing curly brace.
So if your claude_desktop_config.json has the first few lines that look like this:
{
  "coworkUserFilesPath": "C:\\Users\\jay\\Claude",
  "preferences": {
    "launchPreviewPersistedWorkspaces": [],
    "launchPreviewSessionScopedSessions": [],
    "launchPreviewAllowedOrigins": [
...
It should now look like this (update your paths accordingly):
{
  "mcpServers": {
    "Revit Connector": {
      "command": "C:/Users/jay/AppData/Roaming/pyRevit/Extensions/mcp-server-for-revit-python.extension/.venv/Scripts/mcp.exe",
      "args": [
        "run",
        "C:/Users/jay/AppData/Roaming/pyRevit/Extensions/mcp-server-for-revit-python.extension/main.py"
      ]
    }
  },
  "coworkUserFilesPath": "C:\\Users\\jay\\Claude",
  "preferences": {
    "launchPreviewPersistedWorkspaces": [],
    "launchPreviewSessionScopedSessions": [],
    "launchPreviewAllowedOrigins": [
...
8. Restart Claude
To do a full restart, right-click the Claude icon in the system tray (menu to the right of your taskbar) and click Quit.
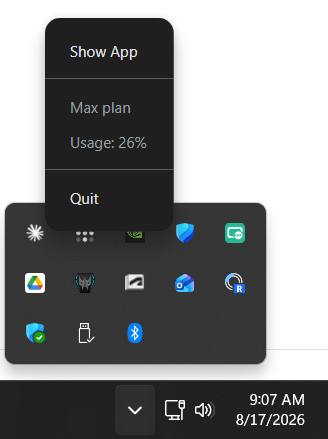
9. Start Prompting!
At this point, Claude should have access to your Revit application and active model. Let’s try it out!
Open a Revit project, and try sending Claude a simple prompt:
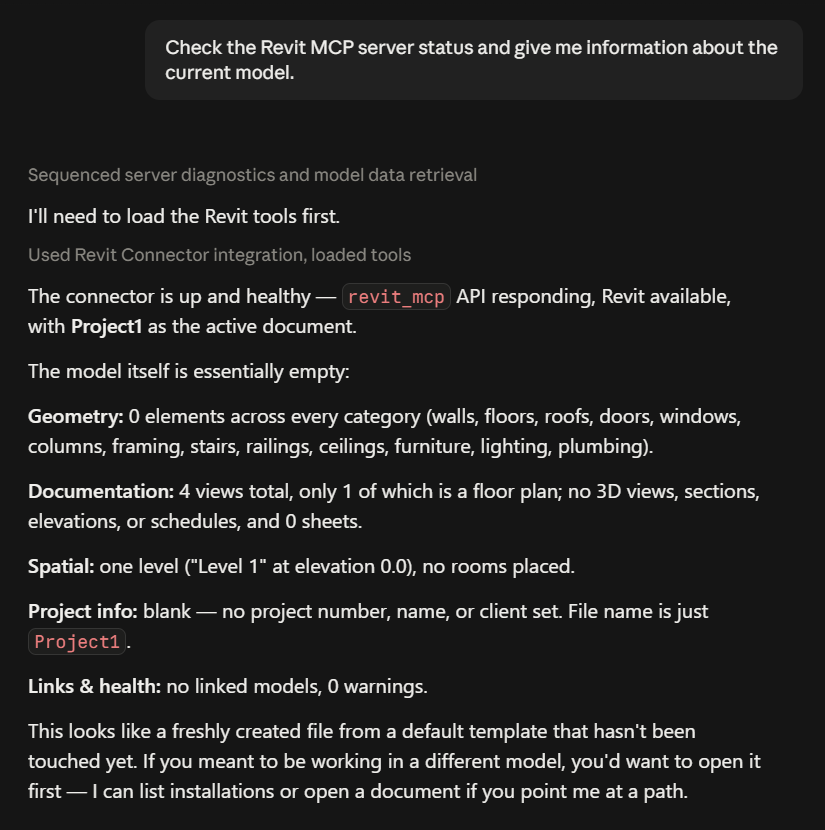
Check the Revit MCP server status and give me information about the current model.
Claude should respond with a similar message as below.
Next Steps: Start Prompting!
Try a prompt which asks Claude to build something specific:
Build me a high rise with 20 levels, each 20' apart. Model a slab at each level as 100'x100' with a floor that is 12" thick. If that floor type doesn't exist in the model, create it.
Or something more simple and just extract basic data:
List all of my door types in the project
Or you can give Claude even more creative freedom and let it actually design a building:
Model a high rise building for me. It should have at least 12 levels. Design it in a way so that it is suitable for a large dedicated office space that will be leased per floor. Start with the core and shell only, including an elevator shaft. Allocate space for a stairwell, but don't model the stairs yet.
Happy prompting!
Have you tried using Claude with Revit? What is your take on this new form of design automation? Let’s discuss!
Having issues?
Drop us a comment below and we will try to help you get set up!
Leave a Reply